Sunday, January 8, 2012

Lil Twister Table Topper Gift

For my sister-in-law, I made a 'Lil' Twister table topper.  When I made the table topper for myself, I kept looking at the fabrics and thinking....I really think Jill would love these fabrics!  When I finished my project there were almost enough charm squares left in the pack that I had used.  I simply reduced the size of the finished quilt and made this cute little table quilt.


I must admit that this was one of the last gifts that I finished.  Deciding on the outer and binding fabric was really a challenge.  Finally, a few weeks before Christmas I decided on the sage green.  Fortunately, the fabric arrived and I was able to put this together and get it finished in time for gift giving.

While I spent many hours at my machine making gifts and filling the hours of my vacation, I sadly must report that I haven't even turned it on since going back to work.  The machine is beginning to call my name....Heather, come turn me on...make something useful.  Maybe this week.

Happy Sewing
Heather

Friday, January 6, 2012

Merry Christmas and Happy Birthday to my Mama!

O.K.  it has been a while since my last post.  Well, I had to use all the time I usually use writing to sew all of the homemade gifts I wanted to give.  Enough excuses, on to the first set of gifts I gave. 

My mom was lucky enough to be born on Christmas.  So instead of just a Christmas gift, she also got a Birthday gift as well. 


I made her a matching table topper and hot pad.  This past summer, while on our anniversary trip in Amish Country Ohio, I found these fabrics and thought of my Mama.  The twisted table topper seemed like the perfect thing for her.  It sits in the center of the table, so you can use the rest of the table and just leave it there. 

I began sewing for Christmas in June this year.  Seems a little ridiculous, but for once, I finished all the projects I had planned for gifts!  More gifts to come soon.

Heather

Tuesday, November 22, 2011

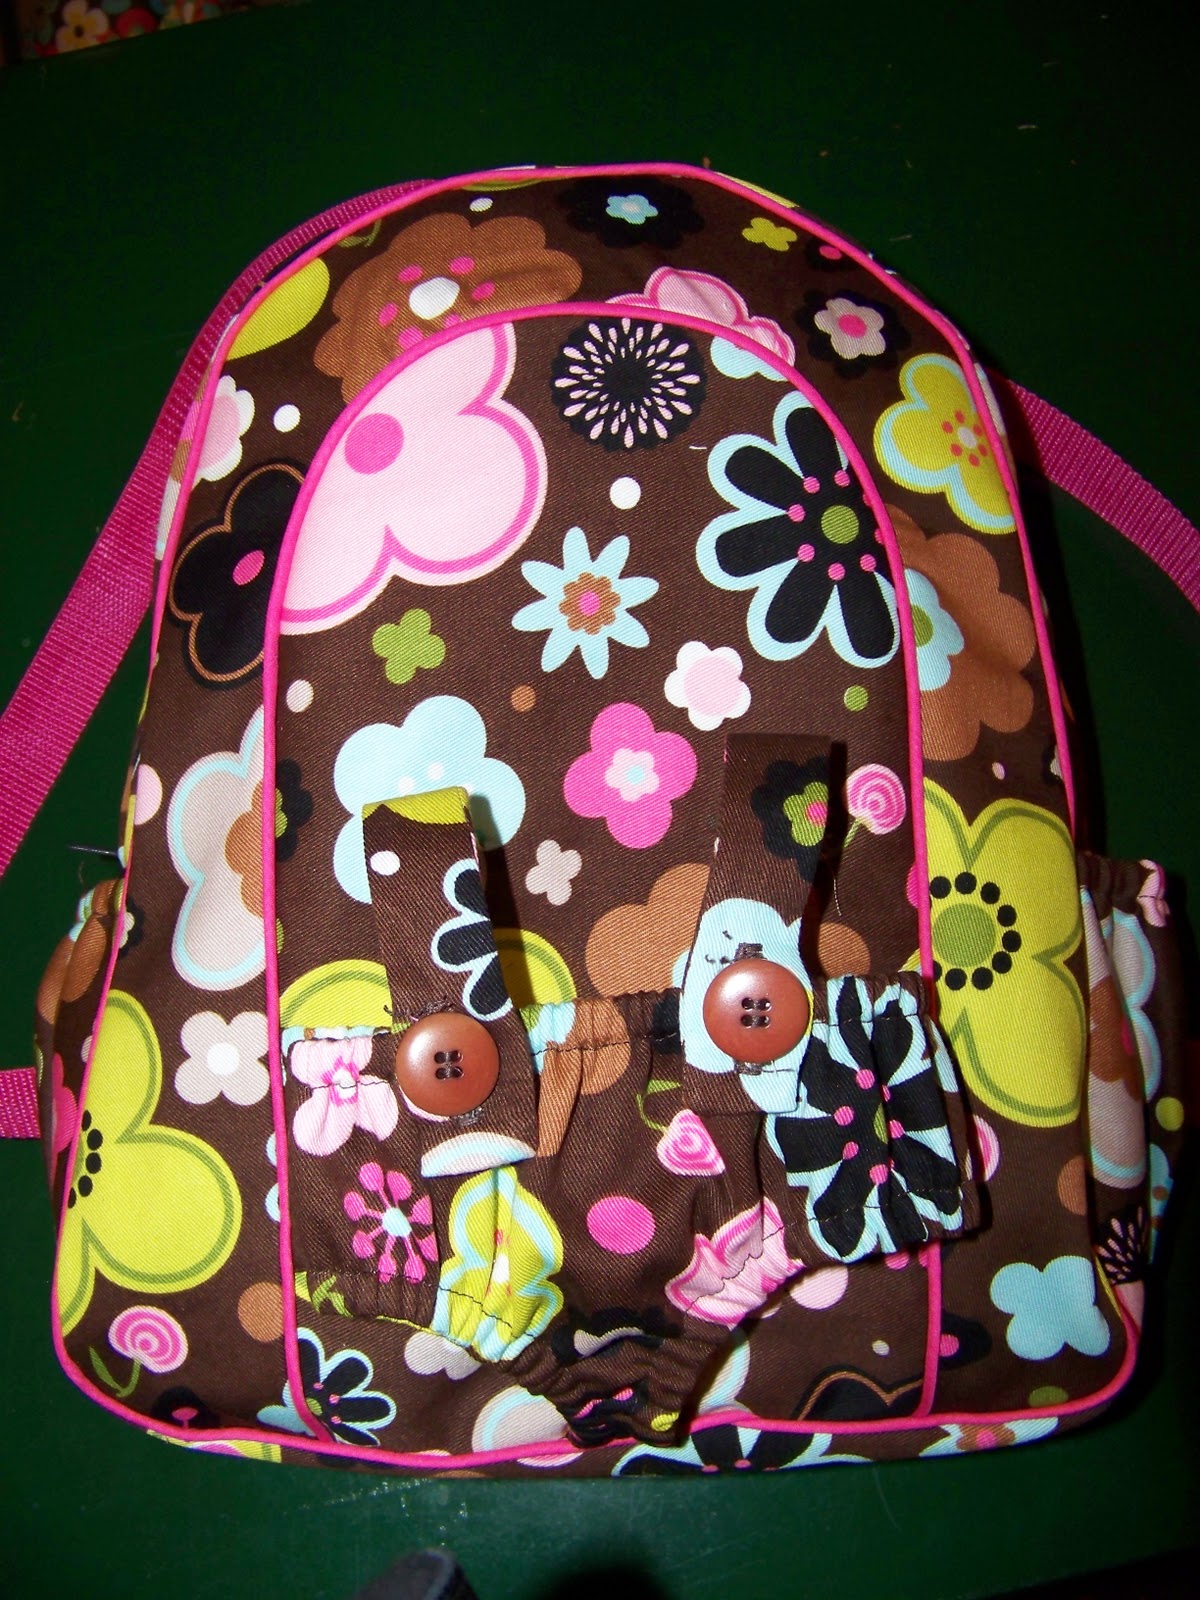
Simplicity 1952 Baby Backpack

I recently cut out all of the teeny tiny pieces for baby doll clothes and a baby backpack.  My plan was to make the backpack and some clothes for my youngest to go along with the Bitty Baby that we are going to get her for Christmas.  One part of the plan has been accomplished.  The backpack is finished and I am ecstatic with the results!!!


The cording was my major concern.  If you don't catch it just right, it doesn't look right.  Well, I lucked out (with my cording foot) and it looks great!  Can you see the bottle pockets on the side of the bag?


I do believe this is my best zipper yet.  It is totally hidden and works like a charm.  The webbing for the straps was stolen from another bag I am planning to make for one of the teenagers.  I forgot to buy the webbing when I was purchasing the rest of the materials (go figure).


As you can see the baby fits snugly in the carrier and there is plenty of room in the bag for any clothes I will make for the baby.  Thank you to Shelby for being a good sport and modeling the bag for me. 

This bag was challenging, but I learned several things while making it.  Reading the pattern and understanding what is being said requires me to reread the directions several times.  Sometimes even after multiple readings I just have to try it out and hope for the best.

I can't wait to give this to my daughter for Christmas.

Heather

Friday, November 18, 2011

Infinity Scarf

I have seen many Infinity scarves around the blogs I read lately.  They appeared to be easy to sew and super cute.  Imagine my excitement when Craftiness Is Not Optional posted a tutorial for making an Infinity Scarf yesterday, here. 

This meant an emergency stop at JoAnn Fabrics on my way home from work.  I don't often (never) work with knit, so there wasn't any laying around my house.  While there, I bought enough knit to make 3 scarves and the fabric to make the baby doll backpack. 

From there I rushed right home to start on the scarf.  After dinner and play time with the kiddos, I was able to get the scarf together pretty quickly.  I can't wait to wear it to work next week!


Heather

Thursday, November 17, 2011

Pattern Cutting for Simplicity 1952

There is a reason that Quilts are my favorite thing to sew!  I seriously dislike cutting out pattern pieces.  That being said, my evening was spent cutting out pattern pieces for Simplicity 1952.  The pattern is for clothes and a backpack for 15" dolls.  We are planning to buy one for the youngest for Christmas.

The hand cramps, from all the cutting, are affecting my ability to type!  This pattern has 24 pieces and most are very small with many notches to cut.  It will all be worth it when she opens up the doll clothes and backpack for her baby on Christmas morning. 


Look at all those little pieces.  I am really enjoying making clothes, but also looking forward to the squares, rectangles and triangles of quilting. 

Heather

Wednesday, November 16, 2011

Rule Breaking Quilts

I took a class with a friend of mine at a local quilt store for fun.  The class taught us about the techniques in the book Rule-Breaking Quilts by Kathryn Schmidt.  It was a very freeing experience, no measuring, no pattern, no master plan.  Just a few fabrics, a rotary cutter, and a sewing machine. 

If things didn't line up, just cut them off or add a little bit to them.  One great technique I learned was how to cut and sew together long free curvy pieces.  This was accomplished by overlapping the fabrics, cutting the curve and then sewing them together.  It worked great.


As you can see the quilt is still not finished.  My friend has already incorporated her pieces into a quilt, which she has had quilted and given to her daughter.  This makes me think this project should move into the finish soon category. 

This book was a great read, since the author has a wonderful sense of humor.  These techniques will definitely teach you about yourself as a quilter/sewer.  I learned that, while it is fun to let go of the rules and pattern sometimes, I really like to follow the rules.  Knowing how much fabric I need, what the finished project will look like and having a plan of attack, is what I am comfortable with.

I am hopeful that this will become a wall hanging for my "little girls" bedroom (soon).

Heather

Tuesday, November 15, 2011

Fleece Flower Hair Bows

Today brings more hair bows.  This will be a tutorial in how to make them.

Supplies Needed:

Fleece scraps (at least 7 inches long)
Felt scraps
Hair clips
Hot glue gun
Needle
Thread to match the fleece

1.  Cut 2 strips of fleece 2" by 7".


2.  Fold the strips in half and sew with a 1/4" seam allowance.


3.  Snip the fleece strips about every 1/4" to create the loops, being careful not to cut the stitching.


4.  Roll the first 2" tightly and tack (stitch) in place.


5.  Make a long basting stitch for 2" pull, like making a gather.  Wrap the gathered section around and tack in place.   Repeat until the flower is finished.


6.  Tie off the thread in the center.

7.  Measure the bottom and cut a piece of craft felt about the same size.  Mine measured 1", so I cut a square at that size and then rounded the corners.

8.  Fold the felt circle in half and cut 2 small slits to slip the hair clip through. 


9.  Hot glue the felt to the hair clip.

10.  Finally, hot glue the fleece flower to the felt.


You end up with beautiful fleece flowers, perfect for any little girl!

Heather